Creating your own car wax not only gives you control over the ingredients but can also be an environmentally friendly option. Here’s how you can benefit from and prepare an eco-friendly DIY car wax.
Benefits of Eco-Friendly DIY Car Wax
1. Environmental Impact: By choosing natural and biodegradable ingredients, you reduce the chemical runoff that can harm the environment. Ingredients like beeswax and coconut oil are not only effective but also non-toxic.
2. Health Safety: Commercial car waxes often contain volatile organic compounds (VOCs) that can be harmful when inhaled. DIY car wax with natural ingredients ensures that you’re not exposed to these harmful chemicals.
3. Cost-Effective: Making your car wax can be more economical than purchasing commercial products, especially if you use readily available household ingredients.
4. Customization: You can tailor your car wax according to the specific needs of your car’s paint, weather conditions, and your personal preferences for scent and texture.
How-To Guide for Making Eco-Friendly DIY Car Wax
Ingredients:
- 1/4 cup beeswax (grated)
- 1/2 cup coconut oil
- 1/4 cup carnauba wax
- 10 drops of essential oil (optional for scent, e.g., lavender or lemon)
Tools Needed:
- Double boiler
- Stirring spoon
- Measuring cups
- Container for storage
Instructions:
- Melting the Waxes: Place the beeswax and carnauba wax in a double boiler. Melt them over medium heat, stirring occasionally to ensure they blend together smoothly.
- Adding Coconut Oil: Once the waxes have melted, add the coconut oil to the mixture. Continue to stir until all the ingredients are well combined and have a uniform consistency.
- Incorporating Essential Oils: After removing the mixture from heat, wait for it to cool slightly before adding the essential oils. This step is optional but adds a pleasant scent and can have additional cleaning benefits.
- Cooling and Storing: Pour the mixture into a container and allow it to cool and harden. Ensure the container is airtight to maintain the wax’s efficacy.
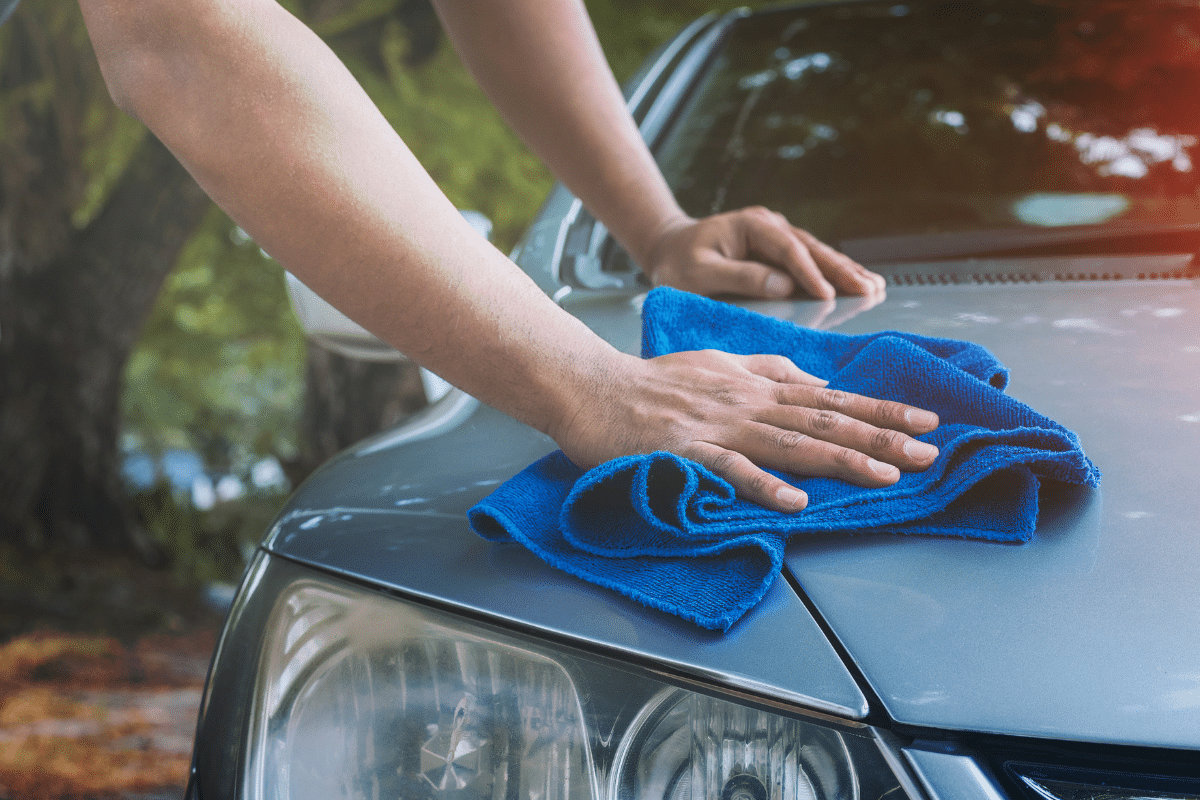
- Application: Apply the wax to your car using a soft cloth or sponge. Work in small sections, using circular motions to ensure even coverage. Allow the wax to dry to a haze before buffing it with a clean, soft cloth to achieve a shine.
Tips for Best Results
- Test the Wax: Before applying it to your entire car, test the wax on a small, inconspicuous area to ensure it does not react negatively with your car’s paint.
- Apply in the Shade: For best results, apply the wax in a cool, shaded area to prevent it from drying too quickly.
- Regular Application: For continuous protection and shine, apply your DIY wax every few months or as needed.
By making and using your eco-friendly DIY car wax, you not only take a step towards more sustainable living but also ensure that your car looks its best without the use of harsh chemicals.

